We may earn money or products from the companies mentioned in this post. Please see policies for more information.
This is a sponsored conversation written by me on behalf of Cricut. The opinions and text are all mine.
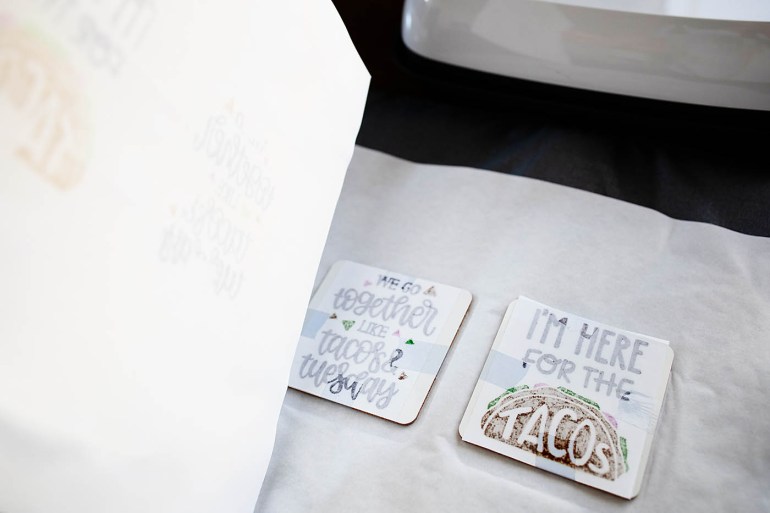
Have you SEEN Cricut’s new Infusible Ink products?! They’re available exclusively at Michaels so you can check them out in-store, but it’s a system that delivers professional-quality, seamless, smooth transfers that are peel-proof, flake-proof, and wash-proof! I had SO much fun getting used to the materials and had to put together a little DIY gift set for the taco-lovers in my life. This Taco Tuesday gift features a tote & custom coasters both made with Cricut’s Infusible Ink system.


How to Start with Cricut Infusible Ink
If you aren’t yet familiar with Infusible Ink check out infusibleink.com to see a little more on what it is and what it can do. To start with Cricut Infusible Ink you’ll need to first stock up on a few supplies.

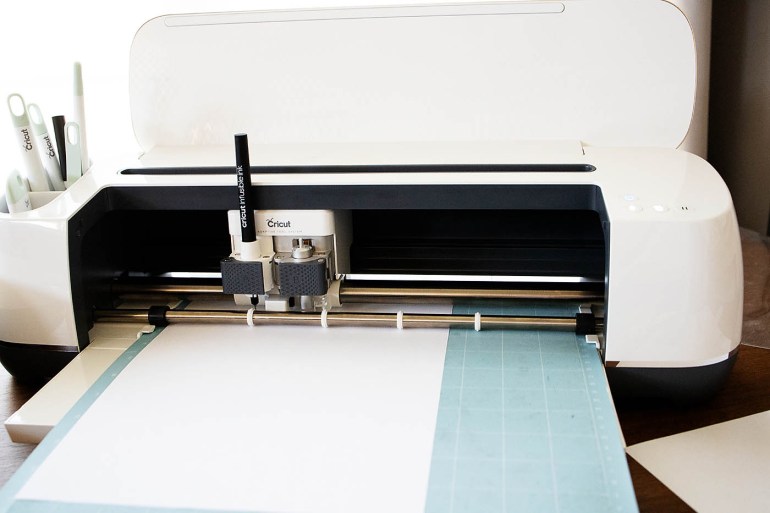
- Cricut Maker (my favorite Cricut machine)
- Infusible Ink Blanks from Michaels – right now they have shirts, totes, onesies, and 2 types of coasters.
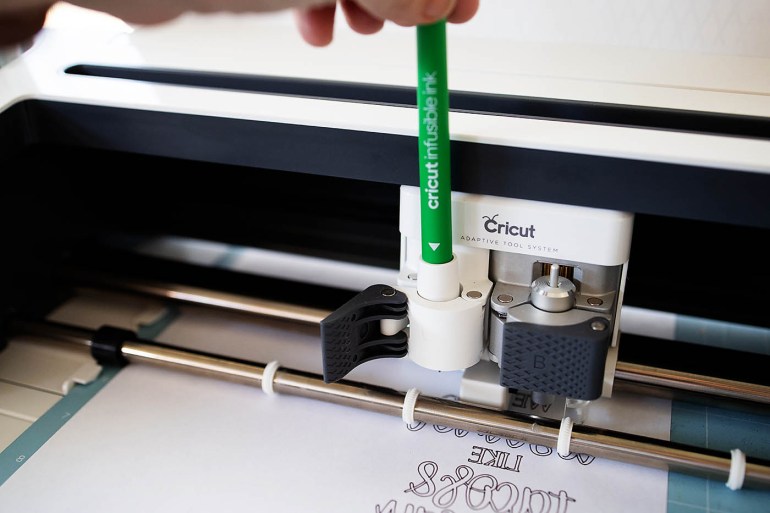
- Infusible Ink pens and/or Infusible Ink Transfer sheets. You can either draw your ink on regular copy paper or cut your design out on your Cricut Maker like you would vinyl or iron-on.
- EasyPress 2 – you’ll definitely want this newer EasyPress because it sports a super even heat plate and a temp range up to 400°. I went with the big 12″x10″ machine to cover more surface area, but I love the smaller ones too!
- EasyPress mat to protect your surface and provide the best “base” to use with your EasyPress 2.
I love and use Cricut’s tutorials in the help section of their site. They are thorough, have one up for each blank/ink combo, and are easy to follow along with! For example, I used this one to make some of my coasters.
Making a Taco Tuesday Tote & Coasters with Cricut Infusible Ink
To make the Taco Tuesday coasters I did 2 with Infusible Ink pens, and 2 with Infusible Ink transfer sheets. With the pens, I found designs in Design Space and set them to “draw” instead of cut. Here are the designs I played with.
*Note: All files I used can be found in the Cricut Design Space and are included in Cricut Access ! When in Design Space just click “images” and then search taco or tacos.
When you are drawing with your Cricut Maker, it will sort by color & prompt you to change out your pens when needed.


After the design is drawn, color in the design with the thicker Infusible Ink markers.

Then you’ll cut out your design, tape to the coasters, & follow instructions from Cricut to use the EasyPress 2 to heat up the ink and infuse it onto the coaster.


For the other 2 coasters, I cut out designs on Infusible Ink transfer sheets and heated them much the same. Instructions from Cricut can be found here.


Allow these to cool completely before touching. They get HOT!

The tote is much the same following the specific instructions here. The temperature is a bit different and I found that the fabric moved a bit more when applying/removing the EasyPress so definitely take care to do it very smoothly and easily – straight up and straight down. I make sure no one else is around to try and talk to me while I’m doing it lol!


It definitely feels more intimidating than it actually is and there are sample blanks included with the transfer sheets so you can practice! The results are GREAT though. Such a professional finish and are perfect for gifts because they’ll last!


What to put in a Taco Tuesday Gift Bag
There are SO many fun taco gifts you can include in a Taco Tuesday gift bag! The bag & coasters are the best, personalized gifts (in my opinion) and then just add in some extras like cactus margarita glasses, taco stands, a tortilla press, taco cookbook, or a salsa bowl!


Now who’s hungry for tacos?!


Comments are closed.